FREE DELIVERY IN USA OVER $120
We Are Covered by Insurances & Medicare
FREE DELIVERY IN UK / EUROPE OVER $100
Published on: 09/12/2025
Author: John Rainier Yumang
Knowing the correct first step in changing an ostomy pouch is essential for preventing infection, protecting the skin, and ensuring a smooth and safe appliance change. Whether performed by a nurse or an ostomate at home, starting correctly sets the foundation for the entire procedure. This article explains the clinically recommended first step, the reasoning behind it, and how it fits into the broader sequence of ostomy care according to best practices from the Cleveland Clinic, Mayo Clinic, and UOAA.

Every step in ostomy care matters, but the first step in changing an ostomy pouch determines whether the process will be clean, safe, and comfortable. Beginning correctly minimizes contamination, reduces skin irritation, and prevents accidents during the change. Medical guidelines consistently emphasize preparation as the key to successful ostomy management.
According to the United Ostomy Associations of America (UOAA), patients who follow a structured sequence experience fewer leaks and better skin health over time.
The evidence-based first step in changing an ostomy pouch is simple yet critical: perform thorough hand hygiene and prepare a clean, organized workspace.
This step includes:
Why this is the correct first step in changing an ostomy pouch:
This preparation is endorsed by major clinical institutions, including the Cleveland Clinic and the Mayo Clinic.
After the first step in changing an ostomy pouch, the remaining sequence typically includes:
Before beginning the hands-on steps, ensure your new pouch, barrier, measuring guide, wipes, scissors, and support products are ready.
Use adhesive remover wipes for painless removal. Avoid pulling too quickly, which can damage the skin.
Warm water and non-woven cloths help maintain healthy peristomal skin. Avoid soaps with oils that interfere with adhesion.
Especially in the early months, stoma size changes frequently. Accurate cutting ensures proper fit and helps prevent leaks.
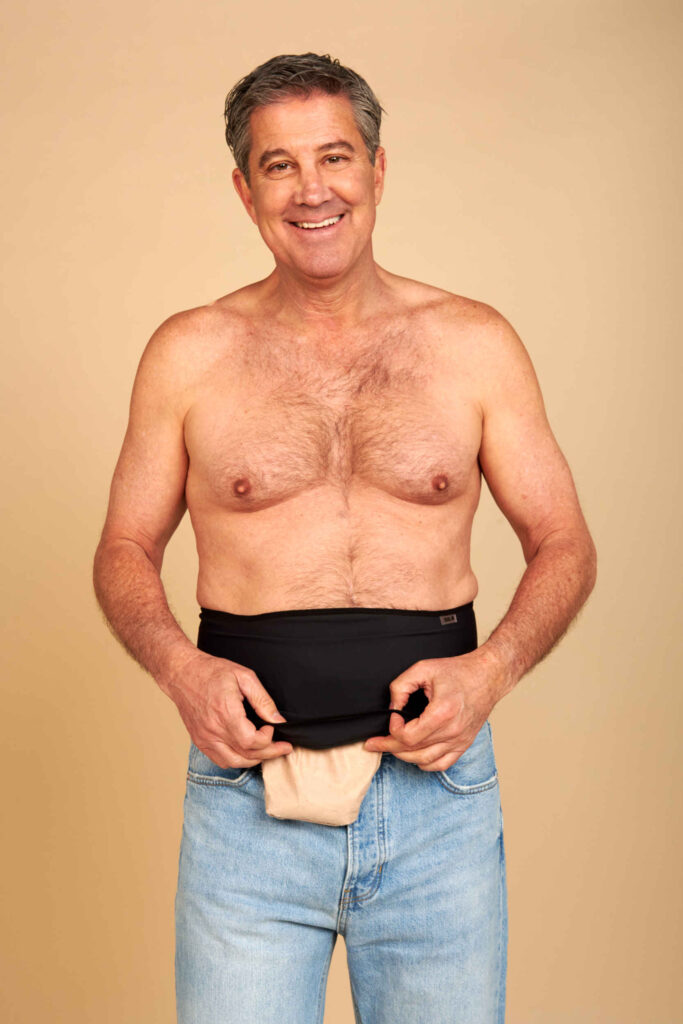
Ensure centered placement and firm adhesion. Support belts and underwear can stabilize the appliance immediately after application.
The first step in changing an ostomy pouch prevents many issues before they occur. Most complications, including leaks and skin irritation, happen when patients start the process unprepared. Studies show that careful preparation reduces errors and promotes long-term skin health.
After completing the first step in changing an ostomy pouch, using the right support products can significantly improve comfort and durability. SIIL Ostomy offers several options that complement clinical best practices:
Patients feel more confident when nurses demonstrate a structured process, beginning with the correct first step in changing an ostomy pouch.
Proper preparation helps prevent stressful situations and leakage issues.
Clean, organized preparation reduces the risk of irritation and allows for quick removal of the old appliance.
The first step is to wash your hands and prepare a clean environment.
It prevents contamination and protects the skin and stoma from infection.
Gloves are recommended in clinical settings but optional for home users.
Yes. Having everything ready prevents interruptions and improves adhesion.
Ostomy belts, support underwear, and stoma protectors provide additional security.

Intimacy After Ostomy 2025: Sex, Dating, Body Confidence & Pouch

How to Hide an Ostomy Bag | Ostomy Bag Covers

Handling Questions About an Ostomy Bag, Confidence Tips for Stares