

FREE DELIVERY IN USA OVER $120
We Are Covered by Insurances & Medicare
FREE DELIVERY IN UK / EUROPE OVER $100
How to make ostomy pouch covers is one of the most creative ways for ostomy patients to reclaim comfort and style. These DIY projects allow you to customize materials, match your wardrobe, and protect the skin from friction—all while keeping your bag discreet.
Commercial covers are great, but homemade versions let you choose breathable fabrics that suit your skin type and personal taste. You can also experiment with designs for sports, daily wear, or special occasions.
According to UOAA (United Ostomy Associations of America), soft fabric barriers between your pouch and skin help prevent sweating and irritation—especially in warm climates or during exercise.

Pro Tip: Avoid synthetic fabrics like polyester—they trap heat and moisture, which can irritate sensitive peristomal skin.
Lay your pouch on pattern paper and trace its shape, adding about 1 inch of seam allowance around the edges. Cut two identical fabric pieces—one for the front and one for the back.
Sew along the edges with the fabric inside-out, leaving the top open for the bag opening. Reinforce seams to withstand daily movement and washing.
Attach Velcro or elastic bands at the top opening. Some DIYers prefer zippers or snaps for easier removal. Ensure there are no sharp edges or seams that could rub against your skin.
Think beyond plain beige—use patterned cotton or soft colors that match your outfits. Many users even make seasonal covers or themed designs to express their personality.
Wash covers in warm water with mild detergent after every few uses. Always dry them completely to avoid bacterial buildup. Rotate between several covers to keep them fresh and odor-free.
Community Tip: Many ostomy forums like VeganOstomy recommend keeping one waterproof cover for swimming or showering, and using breathable cotton for daily wear.
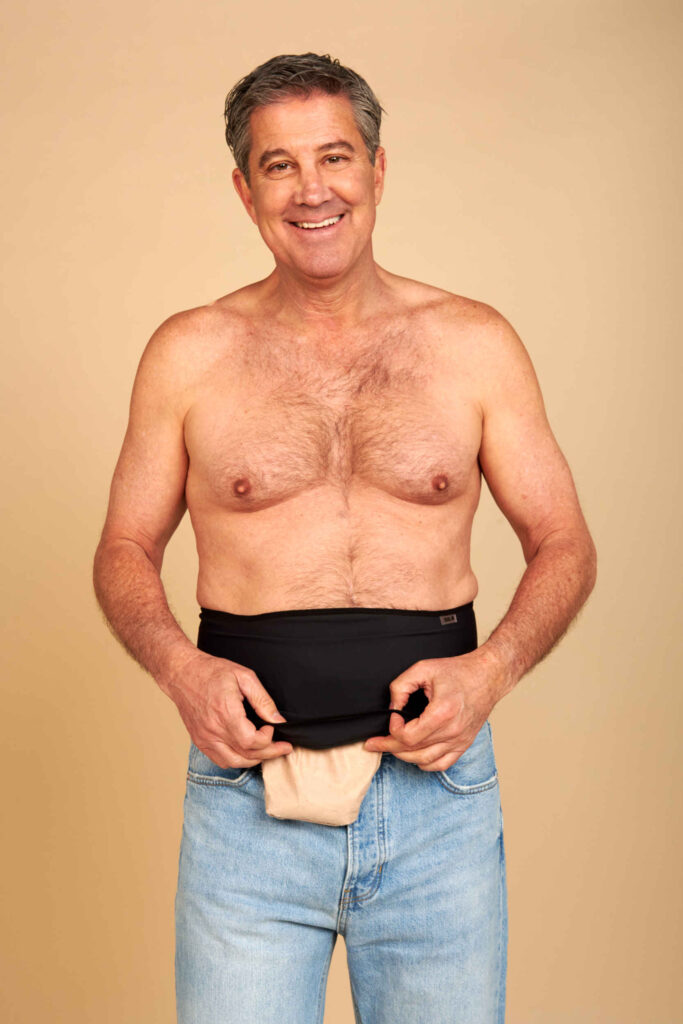
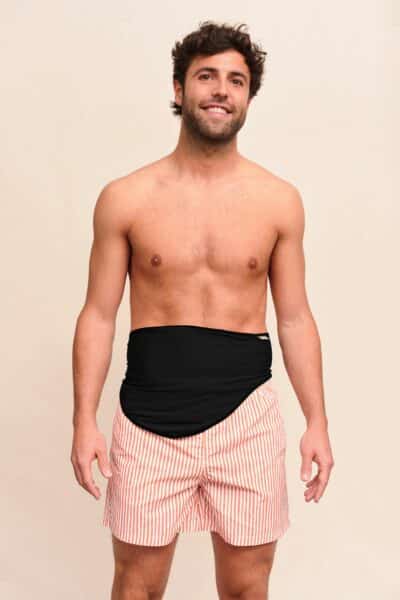
If you prefer a ready-made solution, explore the SIIL Ostomy Wrap. It’s crafted with organic spandex and medical-grade seams, offering comfort and elegance without sewing. Perfect for those who want professional support with the softness of fabric.
Learning how to make ostomy pouch covers gives you control over your comfort and style. With breathable fabrics, careful stitching, and the confidence of your own design, you can blend care with creativity. And when you need professional-quality softness, SIIL Ostomy provides ready-to-wear wraps and belts designed with medical precision and everyday elegance.

Top-Quality Ostomy Bag Covers | 2025 Buyer’s Guide Top-Quality Ostomy

Best Ostomy Bags to Prevent Leakage, Expert Tips for a

Can You Lead a Normal Life With a Stoma Bag?


Real-Life Feedback:
“I started sewing my own covers because store-bought ones felt too clinical. Using soft bamboo fabric changed everything—my skin stays dry, and it feels like part of my wardrobe.” – Emma, colostomy patient from Florida